如何在 Gitea 上渲染 Jupyter Notebook
本指南将向您展示如何配置外部渲染器以显示 Jupyter Notebook。但是,本指南也适用于其他类型的文件,甚至二进制文件!一切皆有可能。
Gitea 如何本地显示 .ipynb 文件
让我们在我们的 Gitea 实例上创建一个新的仓库,并将一个 示例 Notebook 推送到它。
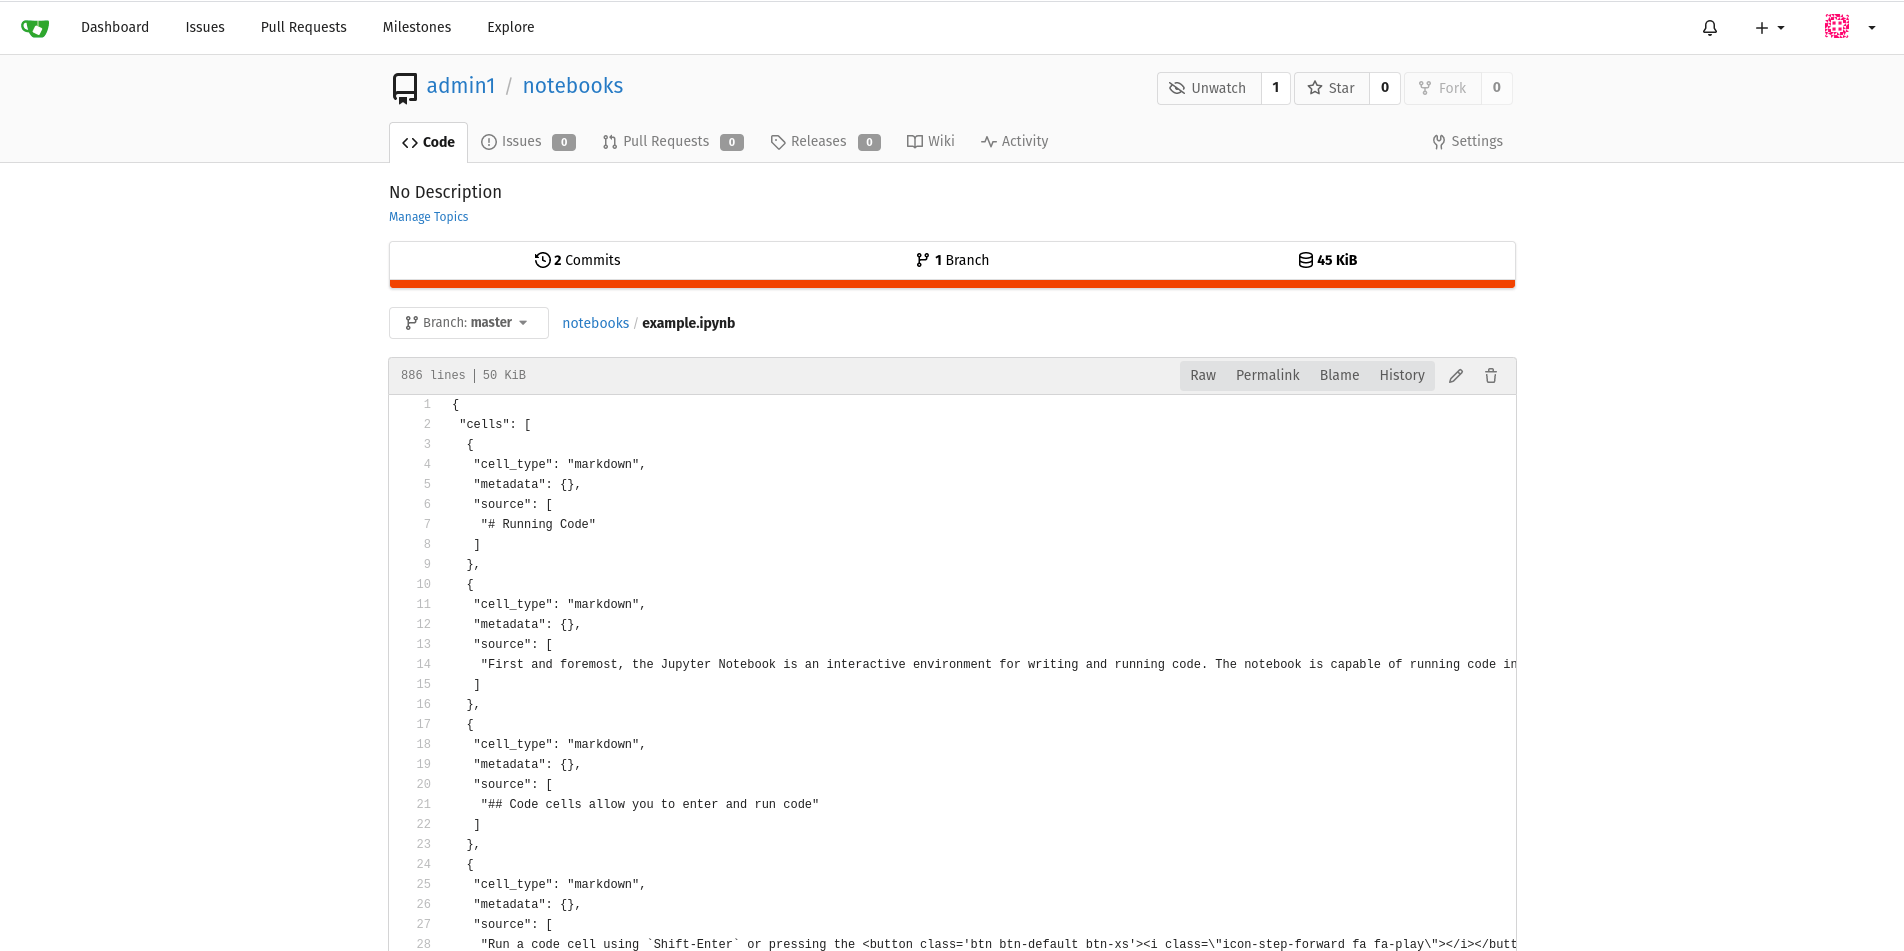
我们可以看到,Gitea 只渲染了文件的原始内容 - 效率很高,但难以阅读。
如何生成 HTML 以显示
为了向用户显示更具吸引力的内容,我们需要一些 HTML,幸运的是,Jupyter 有一个名为 nbconvert 的模块。
在 Gitea 机器上安装我们选择的转换器软件。
sudo apt install python3-pip
pip3 install nbconvert
如果需要,我们可以通过运行测试命令来测试它。
jupyter nbconvert --to html --template full path/to/some/test/notebook.ipynb
如果我们在浏览器中打开生成的 .html 文件,我们会看到类似于下面的内容: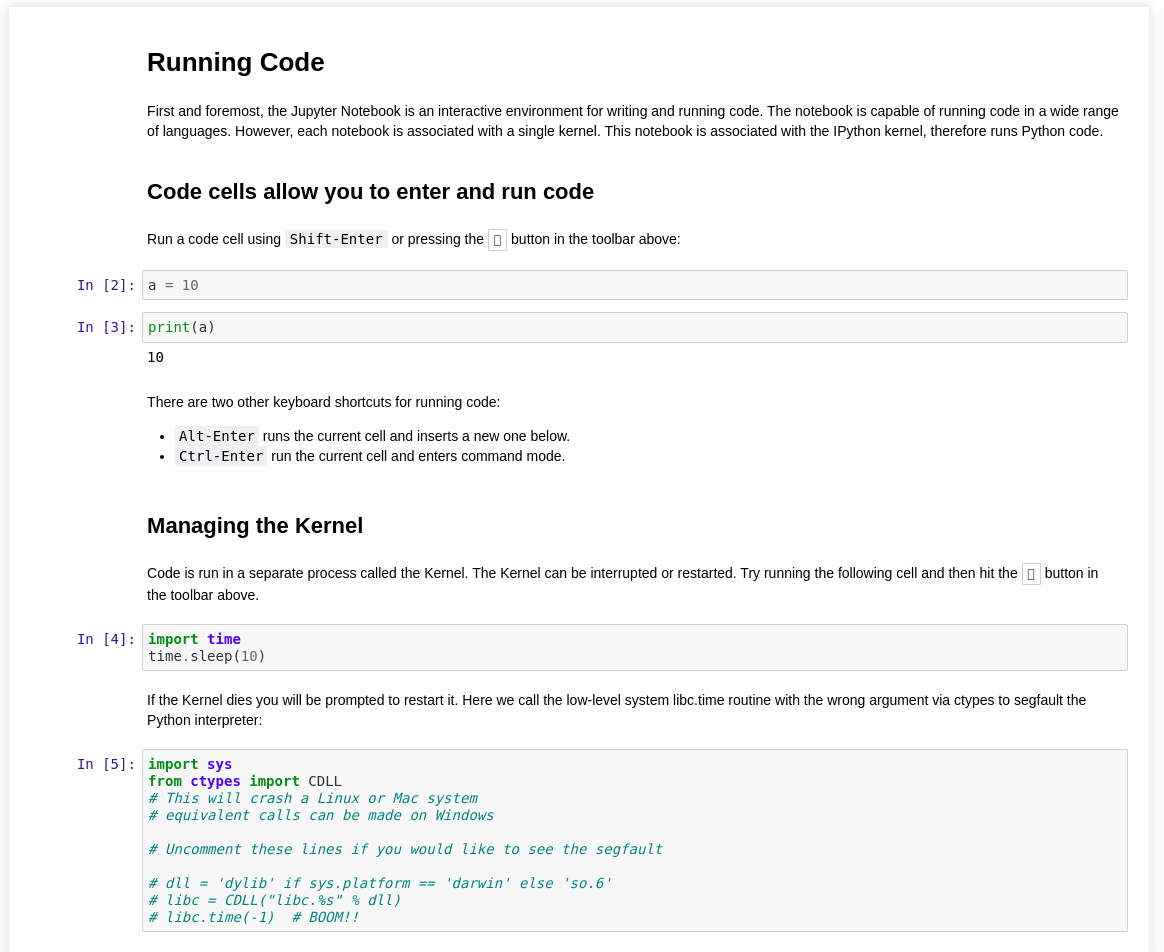
看起来很不错……
配置 Gitea 以使用转换器
就像大多数选项一样,我们可以使用 app.ini 来配置 Gitea 实例。
将其添加到 custom/conf/app.ini 中
; Gitea looks for markup.xxxxx and will apply both "markup" and "xxxxx" as a class to the parent <div>
[markup.jupyter]
ENABLED = true
; all the file extensions we want to convert, comma separated.
FILE_EXTENSIONS = .ipynb
; Lets use out nbconvert command from earlier - making to sure to convert to HTML and to output to stdout
RENDER_COMMAND = "jupyter nbconvert --stdout --to html --template full "
; nbconvert accepts a path to a file and not stdin
IS_INPUT_FILE = true

; the name after sanitizer doesn't really matter
[markup.sanitizer.jupyter0]
; Jupyter chiefly uses divs
ELEMENT = div
; we will need access to html classes later
ALLOW_ATTR = class
; we don't mind which classes we keep, so let's keep all of them
REGEXP =
现在让我们看看在重启 Gitea 后会得到什么。
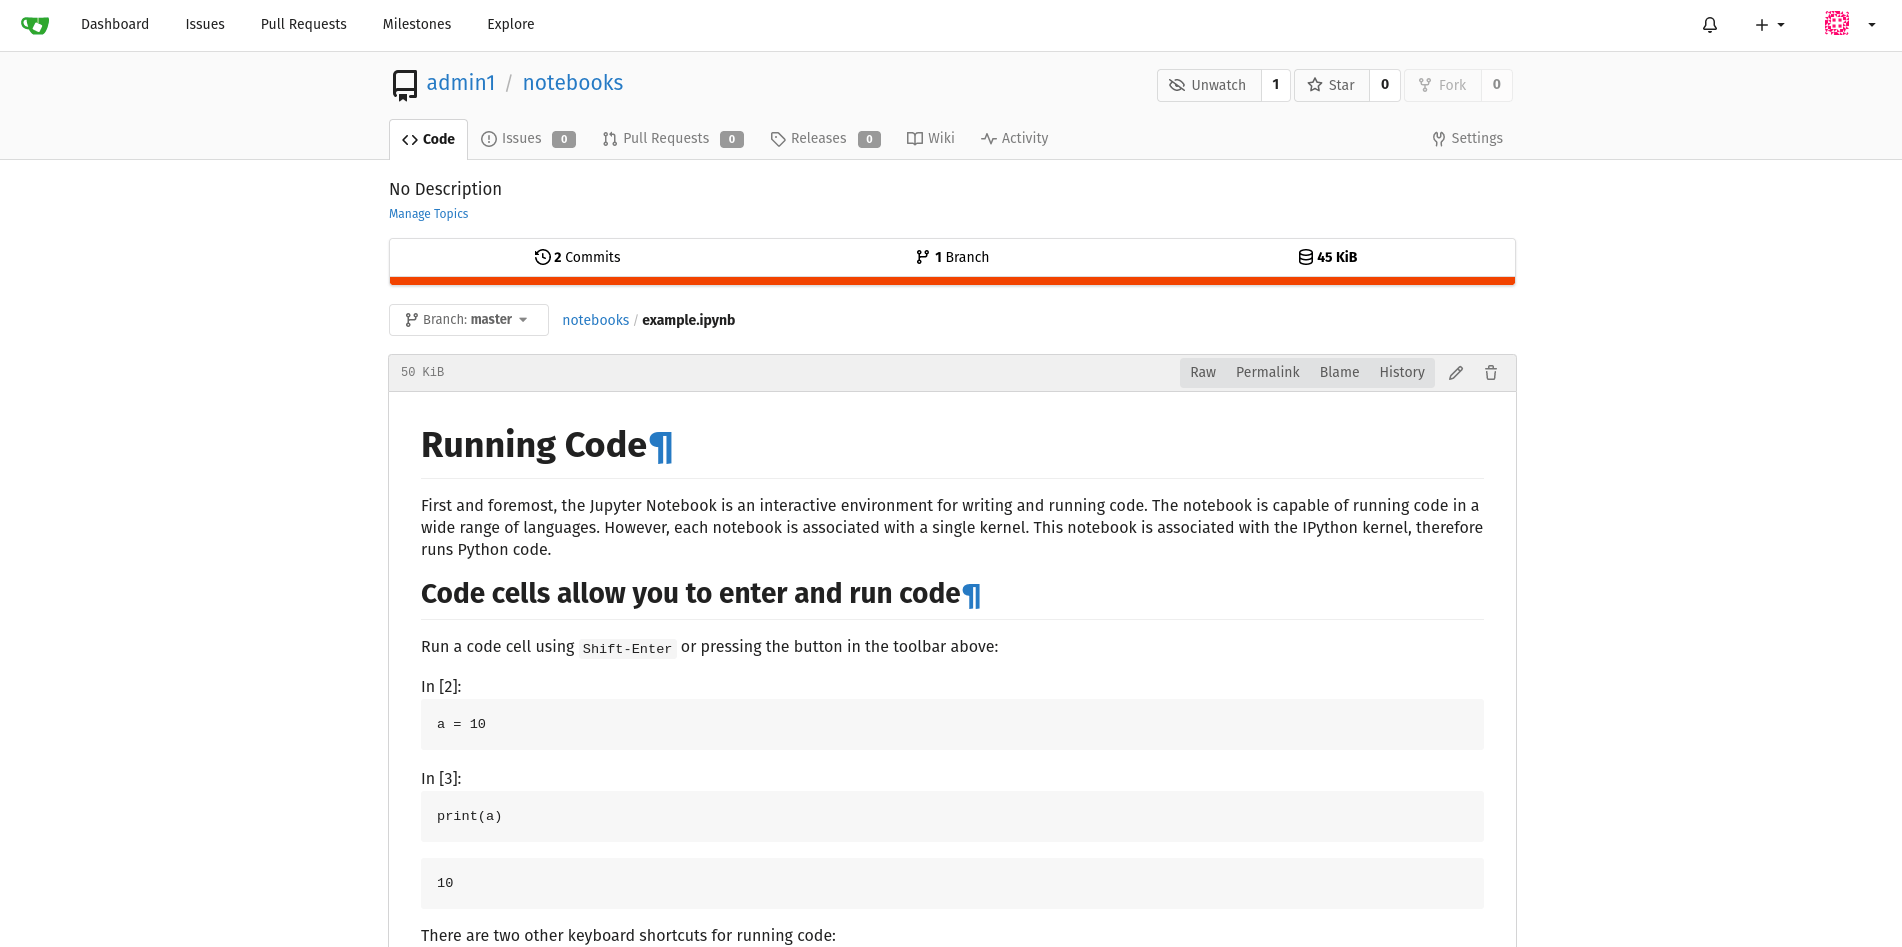
正如您所看到的,这已经很好了,但与之前打开 HTML 文件时看到的不同。这是因为 Gitea 出于安全原因删除了内联样式表。现有样式是从包裹代码的 <div> 中的 markup 类继承的。
恢复我们的样式
如果查看我们之前创建的 HTML 文件的内容,我们会看到几个内联样式表。
<style type="text/css">
    /*!
*
* Twitter Bootstrap
*
*/
/*!
 * Bootstrap v3.3.7 (https://bootstrap.ac.cn)
 * Copyright 2011-2016 Twitter, Inc.
 * Licensed under MIT (https://github.com/twbs/bootstrap/blob/master/LICENSE)
 */
/*! normalize.css v3.0.3 | MIT License | github.com/necolas/normalize.css */
html {
  font-family: sans-serif;
  -ms-text-size-adjust: 100%;
  -webkit-text-size-adjust: 100%;
}
body {
  margin: 0;
}

[...]

  </stlye>
所以让我们将所有样式表都提取出来,并将它们合并成一个 jupyter.less,同时确保删除所有 HTML 标签,例如 <style></style>。现在我们拥有一个包含所有漂亮样式的样式表。但是它有许多通用的选择器,例如
body {
  margin: 0;
}
这肯定会与 Gitea 的默认样式冲突。因此我们需要确保限制样式的范围。幸运的是,Gitea 和 less 可以帮助我们做到这一点。
在 less 中
.someclass {
  body {
    margin: 0;
  }
  summary {
    display: block;
  }
}
等同于 css 中的
.someclass body {
	margin: 0;
}

.someclass summary {
	display: block;
}
而 Gitea 从 app.ini 中将 markup 和 jupyter 类赋予了包围代码的 <div>。 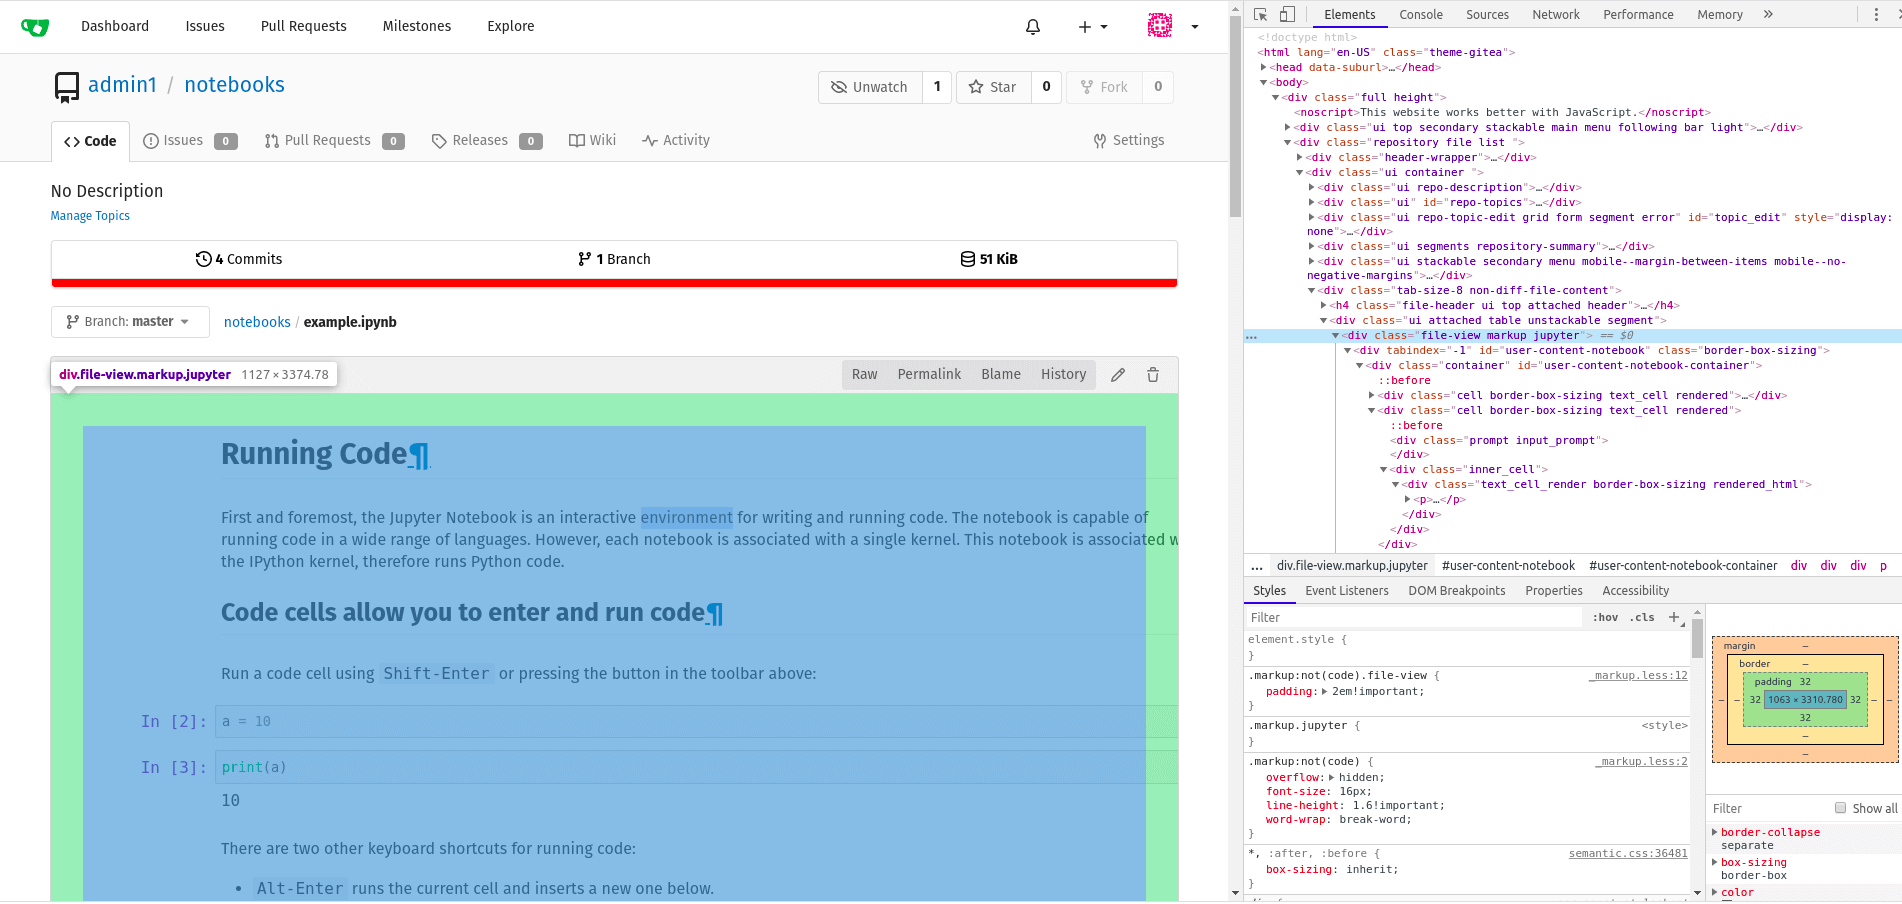
所以让我们将 jupyter.less 的所有内容都包裹在 .markup.jupyter {} 中,以生成类似于 这样 的内容。
现在让我们将该文件放在我们的 'custom' 目录中,在我的情况下,它是 /root/custom/public/css/jupyter.less。
然后我在 /root/custom/templates/header.tmpl 中添加了以下内容
<!-- lets import the less stylesheet {{AppSubUrl}} is a variable that gitea will autofill -->
<link rel="stylesheet/less" type="text/css" href="{{AppSubUrl}}/css/jupyter.less" />
<!-- we need the javascript to compile the less into css -->
<script src="//cdn.jsdelivr.net.cn/npm/less" ></script>
现在让我们重启 gitea 看看会得到什么。
使用 .markup.jupyer 自定义样式后的最终外观 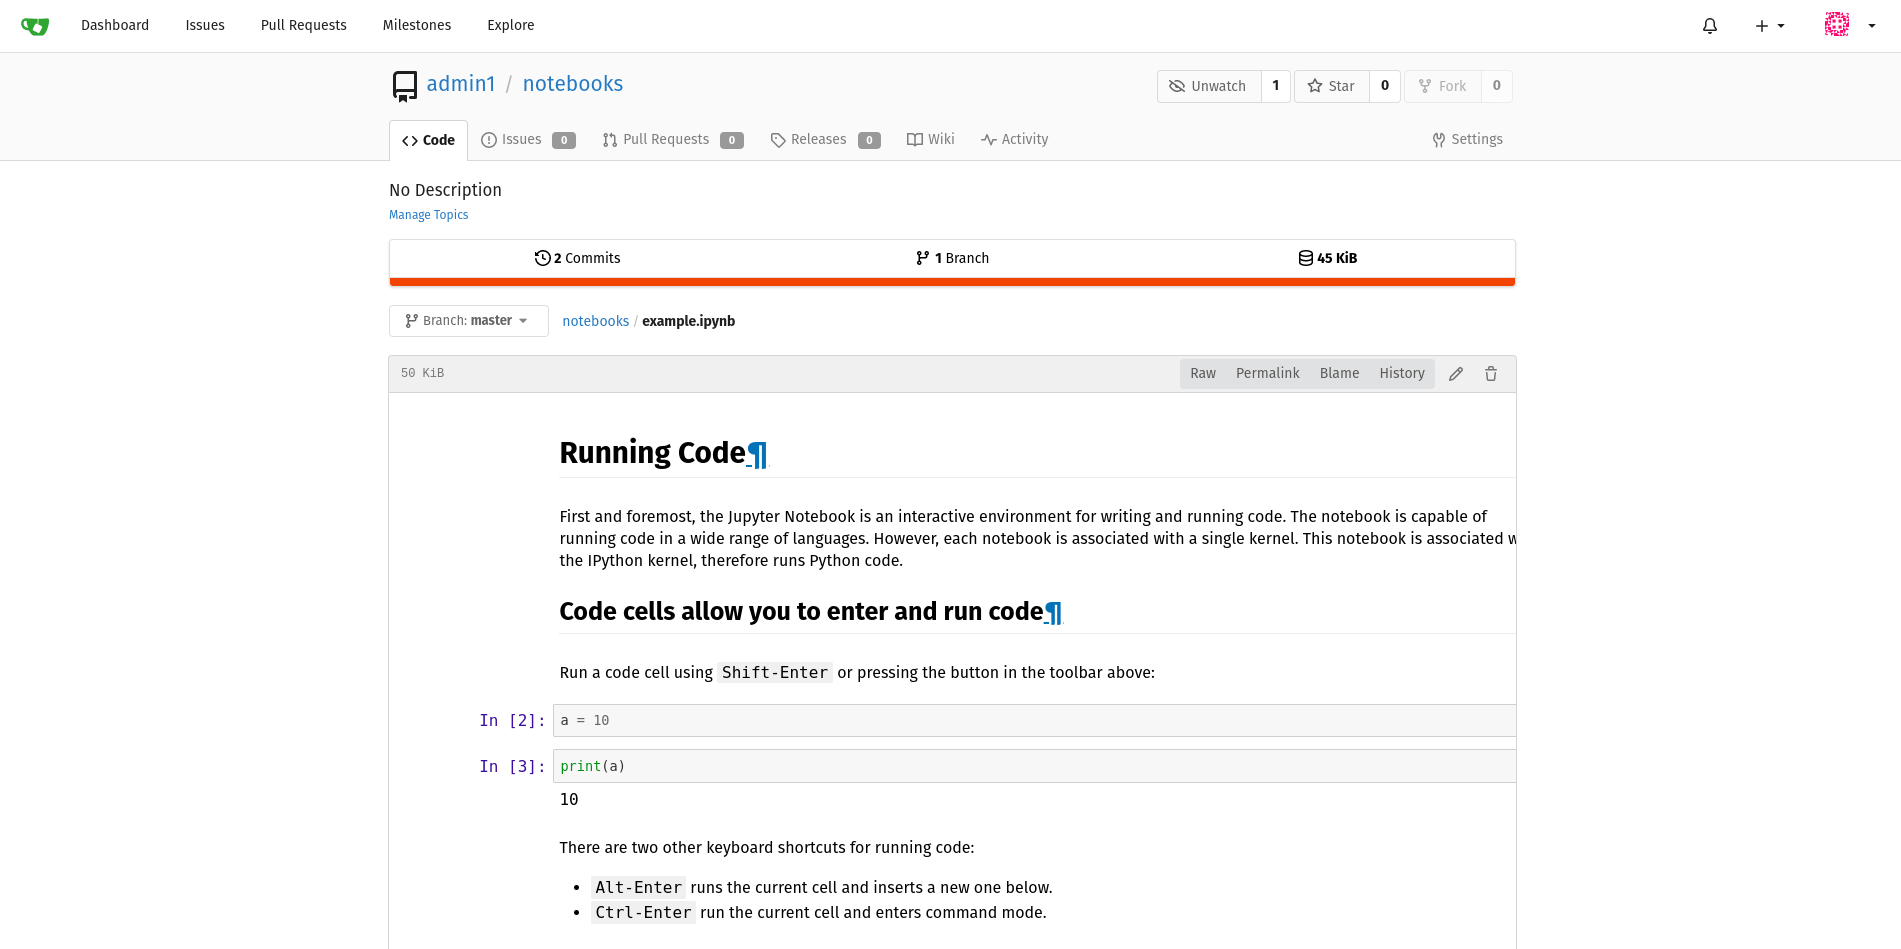
看起来不错,但我们遇到了一些文本超出边框的问题。这是由一些烦人的 CSS @ 规则引起的,所以让我们从 jupyter.less 中删除以下内容
@media (min-width: 768px) {
  .container {
    width: 768px;
  }
}
@media (min-width: 992px) {
  .container {
    width: 940px;
  }
}
@media (min-width: 1200px) {
  .container {
    width: 1140px;
  }
}
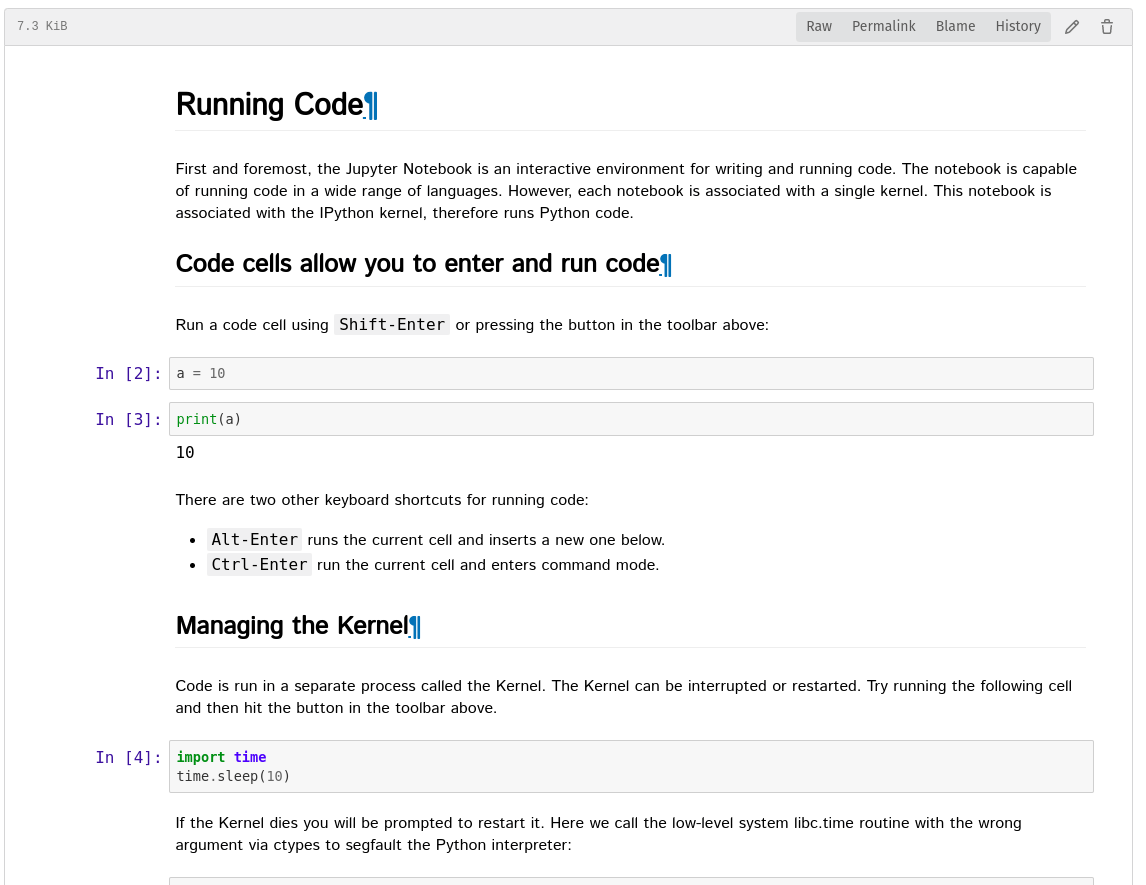
太棒了!完美风格的 Jupyter Notebook。
